Are you considering getting a loft conversion for a property, but interested in finding out what the process is like? In this guide, we take you through step-by-step as to what the typical loft conversion schedule looks like, so you can get an insight as to what to expect.
It is also important to keep in mind that the exact process will inevitably end up varying depending on the building and individual requirements of the project itself. The schedule is given to provide an outline of the sort of things you can expect in a loft conversion project.
Step 1: inspection of roof space
The first stage in any loft conversion will typically involve your roof space being inspected for it suitability in terms of a conversion taking place. When it comes to what is actually being inspected, it will be things such as access, height as well as any potential obstacles that could arise. For example, chimney stacks or a water storage tank in the roof could make things a bit more complicated, but can be addressed nevertheless.
Step 2. An architect or surveyor confirms suitability
Once the roof space has been assessed for suitability when it comes to a loft conversion, the next step usually involves an architect or surveyor verifying the loft’s suitability for work to be carried out too. In addition, the architect or surveyor will also take into consideration as to whether the building itself is adequate to take the added load that is typically involved in a conversion.
Step 3: Plans are made
Once this step has been carried out, the plans are drawn by the architect or surveyor, and this is also a chance for you and your team to get a thorough understanding of what your costs will be, and how you can potentially cut the cost of certain things by carrying these out yourself on a DIY basis.
Step 4: the loft is cleared
Once you have also got Building Control approval (this can be sorted out yourself or by the surveyor or architect you have hired) then it is possible for work to get going on the loft conversion.
The first step in this individual process is clearing the loft space. This includes things such as water storage tanks, or chimney stacks, which will need to be moved to a more convenient space so extension works can take place.
Step 5: rewiring is assessed
The next step in a loft conversion project more often than not involves sorting out electrical wiring and assessing carefully what needs to be done to make sure that safety is not jeopardised.
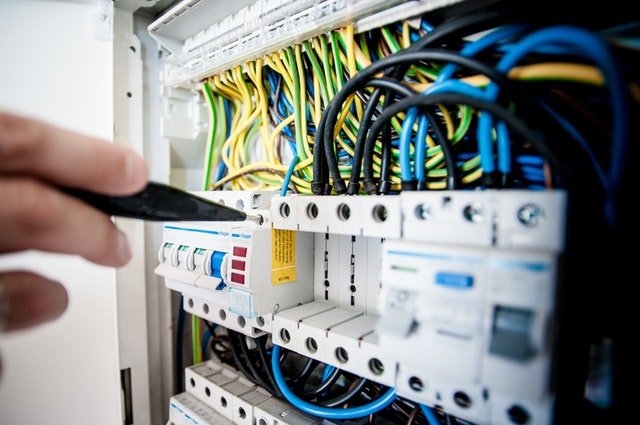
For example, it is vital that any electrical wiring or other services which are attached to binders and joists are removed as well as rerouted.
This usually also presents itself as a good time to both replace and improve the original wiring too. The requirement will also mean that certain services will probably not be available in the meantime in the property itself, which is something to remember. It will usually not work until new wiring or pipework has been completely replaced.
Step 6: floor insulation
This part of the loft conversion process will involve ensuring that spaces between joists are now filled with insulation to a depth of 10mm. After this, joists can be covered with floorboards, providing that a Building Control inspection has already taken place.
Step 7: floorboards are laid
The next step involves floorboards then being held in place with screws.
Step 8: rafters reinforced
Rafter reinforcement can now start in line with structural requirements, which means that collars, struts and purlins can be removed safely.
Step 9: dormer installation
If applicable, this is the point where dormers are usually installed.
Step 10: rooflight installation
Typically, roof windows are then installed, providing a great way of letting in natural light to the conversion.
Step 11: staircase installation
Exactly where in which the staircase is fitted will usually be dependent on the individual conversion itself.
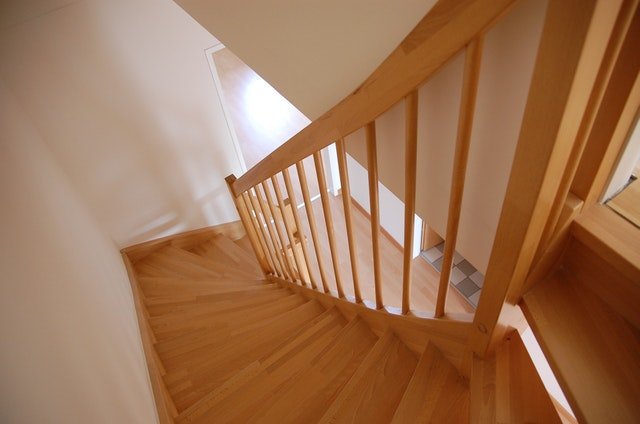
The exact costs and requirements will also differ depending on the building itself.
Step 12: dormers tiled and vents fitted
In order so that they are completely weatherproof, dormers are tiled and cladded at this stage. Ridge and soffit vents will also be fitted too.
Step 13: windows fitted with dormers
The next stage involves fitting the windows in the dormer openings that have already been measured.
Step 14: roof insulation
At this part of the project, roof insulation will usually take place. It is placed between the rafters, with a gap between the roofing felt and the insulation (a 50mm gap) for ventilation.
Step 15: partition walls erected
A quilt will usually be placed within the spaces in between the studs whilst the plasterboard is attached.
Step 16: wall plates and first fix
Wall plates are then fitted between studs so that a secure fitting is provided to items such as radiators.
Step 17: electrics upgrade
It is necessary for all new electrics to meet the requirements to Part ‘P’ of the building regulations as well as the 17th Edition Electrical Regulations.
Step 18: access to panels for water, eaves storage
Water supplies and central heating feeds can be connected to the loft conversion in this stage.
Step 19: walls are plasterboarded and skirting fitted
In one of the final stages plasterboard is attached to the studs and rafters using drywall screws. Then the area is painted as required and skirting will then be fitted.
Step 20: the bathroom clad and extraction is then fitted
In this stage, the shower room walls are clad with a cement-based aquaboard, and an extractor fan is fitted.
Step 21: second fix, finishes and heating carried out
Plumbing and second fix electrics are fitted into place.
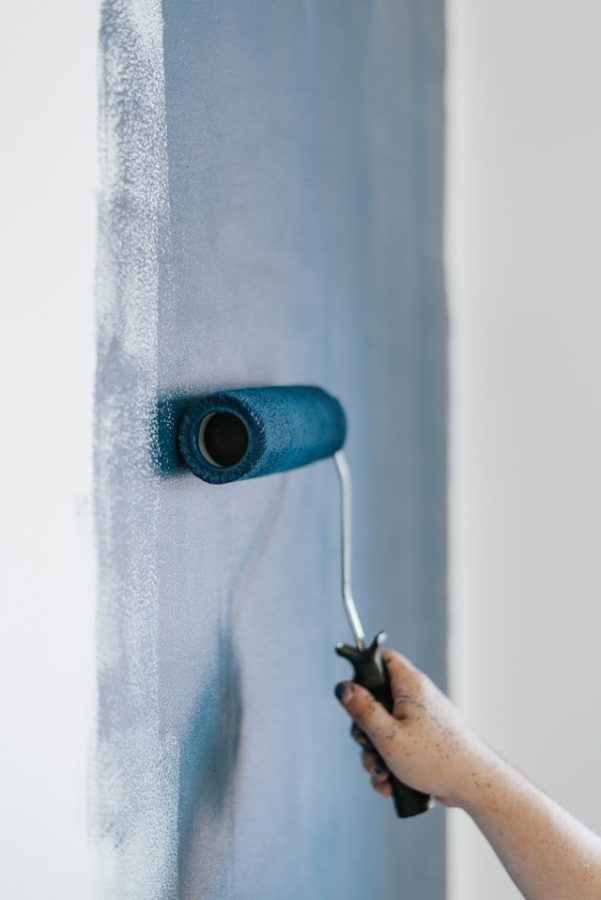
Step 22: decorating
The final step! Now you are all ready to decorate your loft conversion.